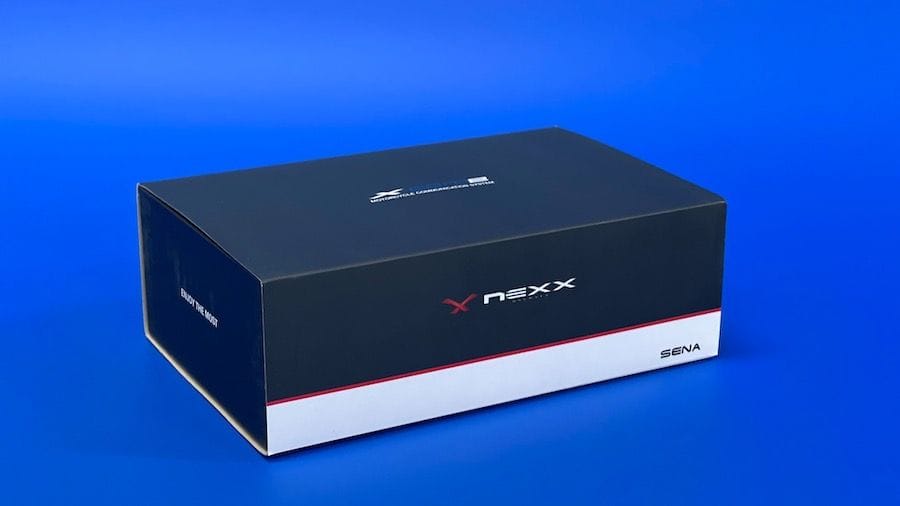
Nexx X.COM2
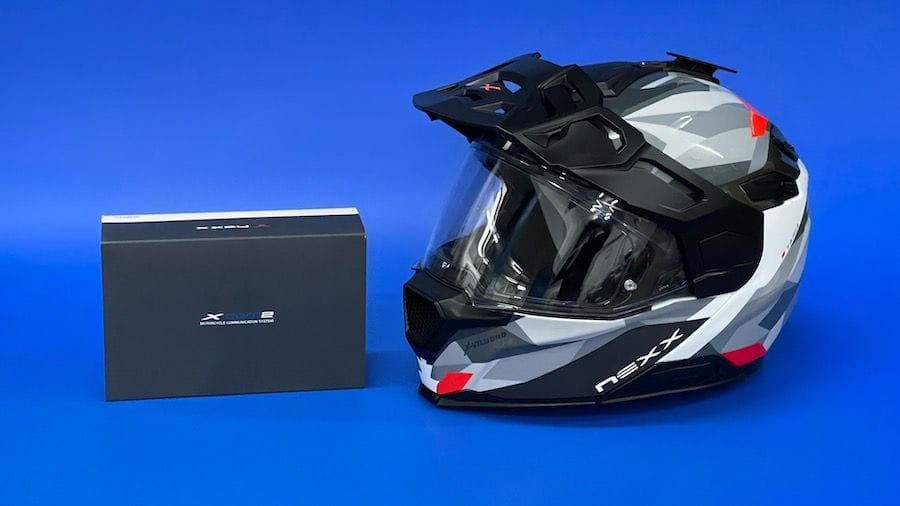
The Nexx X.Vilijord is designed to house the Nexx X.COM2 intercom system so this really is the best option, though it is very expensive.

After buying the Nexx X.Vilijord I posted about recently, I really wanted to get a Bluetooth intercom to use with it.
The Nexx X.Vilijord is designed to house the Nexx X.COM2 intercom system so this really is the best option, though it is very expensive.
Like most integrated intercoms for helmets, this is made by Sena and is a high-quality system.

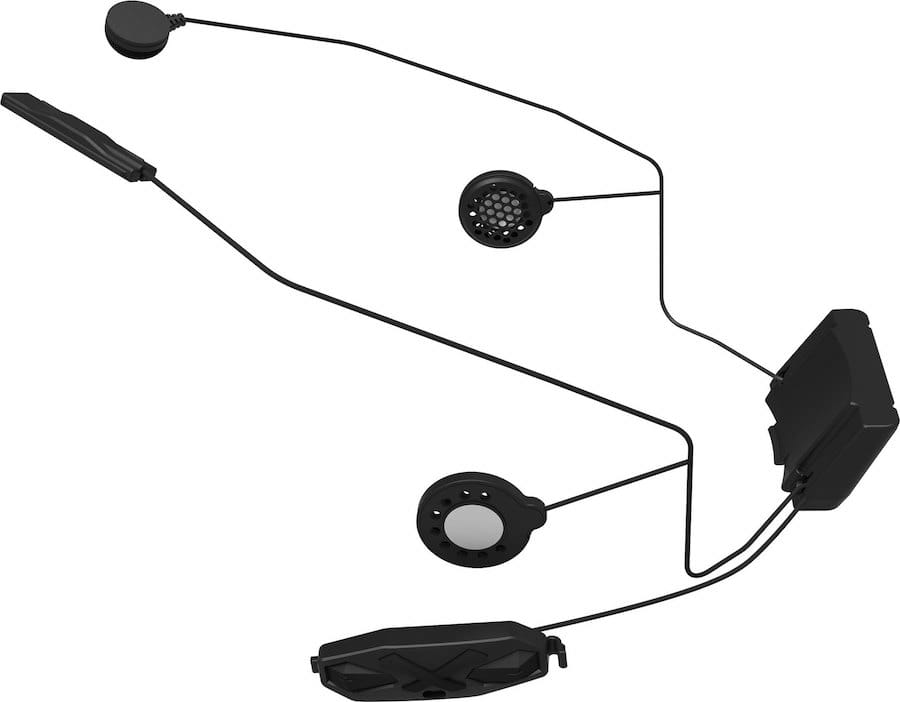
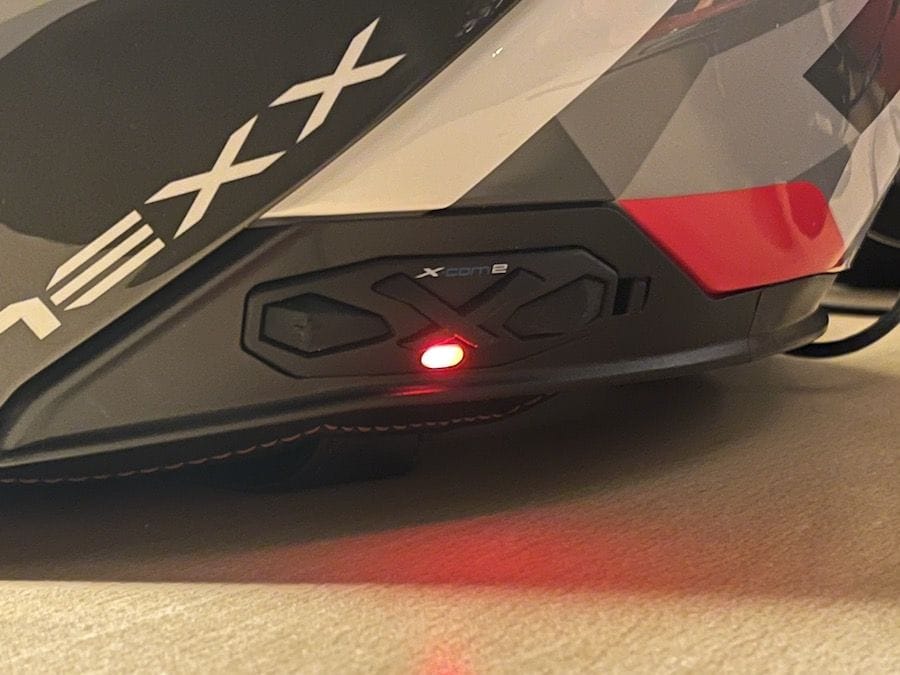
The great thing about this powerful system is that it's virtually invisible except for the discreet control unit mounted inside a small recess on the left side of the helmet. The transmitter unit, microphone, speakers and antenna are all hidden away in the helmet.
Read on to find out more...
Main Features
- Up to 10 hours of talk time
- Approx. 2.5 hrs charging time
- Intercom conference with up to 8 persons
- Bluetooth 4.1 technology
- 2 Bluetooth sources can be used simultaneously (e.g. GPS sat nav and mobile phone)
- Music sharing for rider and passenger
- FM radio tuner
- Bike-to-bike intercom range in excess of 1600 m (in open terrain)
- Advanced Noise Control
- Hands-Free Profile (HFP)
Fitting the X.COM2
The X.COM2 comes with pretty good installation instructions but I'll run through it.

Fitting the intercom system is relatively straightforward, the first step is to remove the inner helmet pads, and the circular pads where the speakers will fit, to gain access to the positions for the speakers, microphone and antenna.
Next, remove the control unit and transmitter unit covers from the left side and rear of the helmet before fitting the intercom system in place and loosely routing the speakers, antenna and microphone inside the helmet.
I had to carefully remove the rear transmitter "door" before sliding in the transmitter and refitting.
Then, I routed the cables and positioned the speakers, microphone and antenna in place and used the small cable clips inside the helmet to retain the cables.
The control unit is fitted inside the left-hand side of the helmet and the connection cable needs to be routed through the exposed void after removing the cover before correctly fitting in place.
I was a little confused as to which way the speakers should face as, after removing the circular pads where the speakers will fit, the Velcro there didn't grip the speakers as I would expect it to so I didn't refit the inner helmet pads before connecting the control unit, tethering to my phone and testing the audio to make sure I'd done it correctly.
Fitting the inner helmet pads was easier than I thought it was going to be and the helmet looks great again.

I then connected the supplied USB cable and plugged it in to charge.
Unfortunately, the transmitter unit has a Micro-USB socket whereas I would really prefer a USB-C socket for charging as I find that USB-C is a more sturdy and easy-to-use connection method.
Another thing I found is that because my AGV Ark Intercom can easily be detached from my AGV K6 Secret helmet, charging the X.COM2 is a little strange as it's integrated into the helmet so it needs a bit more room.
Thanks for reading, help me out by buying me a coffee.
